Alloy wheel damage is frustrating – and expensive-looking. A kerb scrape or small scuff on an otherwise clean car is hard to ignore. The good news is that some alloy wheel damage is genuinely fixable at home. The bad news is that DIY repairs have real limits, and doing them wrong can make things worse or, in some cases, create a safety issue.
This guide explains what you can safely attempt yourself, what tools and products are involved, and where the line is between a sensible DIY job and something you should leave to a professional.
What Kind of Alloy Wheel Damage Can You DIY?
Not all alloy wheel damage is equal. DIY repair is most appropriate for purely cosmetic surface damage – light scuffs and scratches on the rim face or edge that haven't broken through to bare metal or caused any structural change to the wheel.
- Very light kerb scuffs that have only damaged the lacquer or top coat
- Minor surface scratches that haven't exposed bare aluminium
- Small chips in painted (not diamond cut) wheels
If the damage has gone through to bare metal, involves the bead seat area (where the tyre sits), or has caused any bending or cracking, DIY is not appropriate – and attempting a cosmetic fix without addressing the underlying issue is dangerous.
What You'll Need for a DIY Alloy Wheel Repair
- Alloy wheel repair kit (available from Halfords and similar retailers)
- Fine-grit sandpaper (400—600 grit)
- Plastic spreader or filler applicator
- Alloy wheel filler or body filler
- Primer spray
- Colour-matched wheel paint or spray
- Clear lacquer spray
- Masking tape and paper to protect surrounding areas
- Isopropyl alcohol for surface preparation
Step-by-Step: DIY Alloy Wheel Scuff Repair
- Clean the damaged area thoroughly and degrease with isopropyl alcohol.
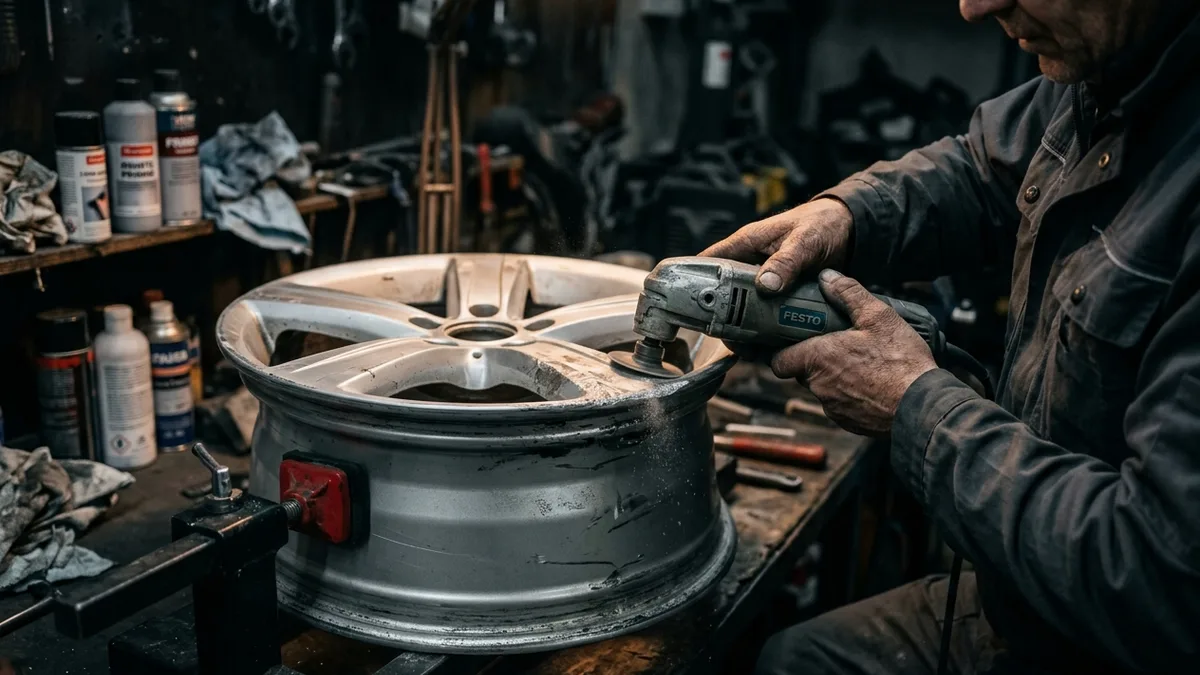
- Sand the damaged area lightly with 400-grit sandpaper to remove loose paint and create a key for filler.
- Apply a small amount of alloy filler to any gouges. Allow to dry fully according to the product instructions.
- Sand back the filler until flush with the surrounding surface. Work from 240 grit down to 600 grit for a smooth finish.
- Mask off the surrounding area – tyre, brake disc, surrounding bodywork.
- Apply a thin coat of primer. Allow to dry, then lightly sand with 600 grit wet and dry.
- Apply colour-matched paint in thin coats. Most wheels need 2—3 coats.
- Once dry, apply clear lacquer in 2 thin coats for protection.
- Allow at least 24 hours before removing masking and driving the car.
Common DIY Mistakes to Avoid
- Skipping surface preparation – filler and paint won't adhere properly to a dirty or greasy surface.
- Using the wrong colour – standard silver spray rarely matches factory wheel finishes, especially on older or specialist alloys.
- Applying too much filler – overfilling creates a raised area that's visible after painting.
- Not using lacquer – paint without lacquer protection will chip and fade quickly.
- Repairing diamond cut wheels – DIY is not appropriate for CNC-machined diamond cut surfaces. These require re-machining on a lathe.
When to Stop and Call a Professional
Some situations require a professional repair regardless of your DIY skill level:
- The damage has exposed bare aluminium or is deeper than the surface coating.
- The wheel is bent, buckled or cracked – this is a structural and safety issue.
- The wheel has a diamond cut or two-tone finish – colour matching and surface recreation require specialist equipment.
- The damage is on or near the bead seat where the tyre seals to the rim.
- You want a result that's genuinely invisible rather than 'good enough'.
Is DIY Alloy Wheel Repair Worth It?
For very minor scuffs on a car you're not precious about, a DIY repair kit can produce a passable result at low cost. For anything more significant – or on a car where appearance matters – a professional repair will be more cost-effective in the long run. A poorly executed DIY repair often costs more to sort out than if the original damage had been repaired professionally from the start.
At Wheel Fusion, we see DIY repair attempts regularly. In many cases, the underlying damage is straightforward, but the DIY finish on top requires extra work to remove before we can carry out a proper repair. If in doubt, get a quote before attempting a repair yourself – you might be surprised how affordable professional work is.