Freshly painted brake calipers can transform the look of a car, particularly behind clean alloy wheels. But a good result is not simply about choosing red, black or a custom colour. This brake caliper painting guide explains what separates a sharp, durable finish from paint that bubbles, chips or fades after a few months on the road.
Calipers live in a harsh environment. They deal with brake heat, road salt, brake dust, water and stone impact every day. The finish therefore needs proper preparation, suitable high-temperature materials and enough curing time. Get one of those stages wrong and even an expensive paint kit can disappoint.
Is brake caliper painting worth it?
For many drivers, yes. A properly finished caliper gives tired-looking wheels a cleaner, more purposeful appearance without changing the mechanical set-up of the car. It works especially well alongside alloy wheel refurbishment, powder coating or a custom wheel colour, where rusty or dull calipers would otherwise stand out for the wrong reasons.
There is a practical side too. Removing loose corrosion and applying a quality coating helps protect the caliper body from further surface deterioration. Paint is not a repair for a sticking piston, damaged bleed nipple, leaking seal or corroded brake pipe, however. Those faults need to be assessed and repaired before any cosmetic work begins.
The main decision is whether to paint the calipers in place or have them removed. Painting in place is less labour-intensive and is suitable for most cosmetic jobs when masking is carried out carefully. Removal can give more access and a more complete finish, but it adds labour and may involve brake system work. The right route depends on the condition of the brakes, the vehicle and the finish expected.
Preparation first
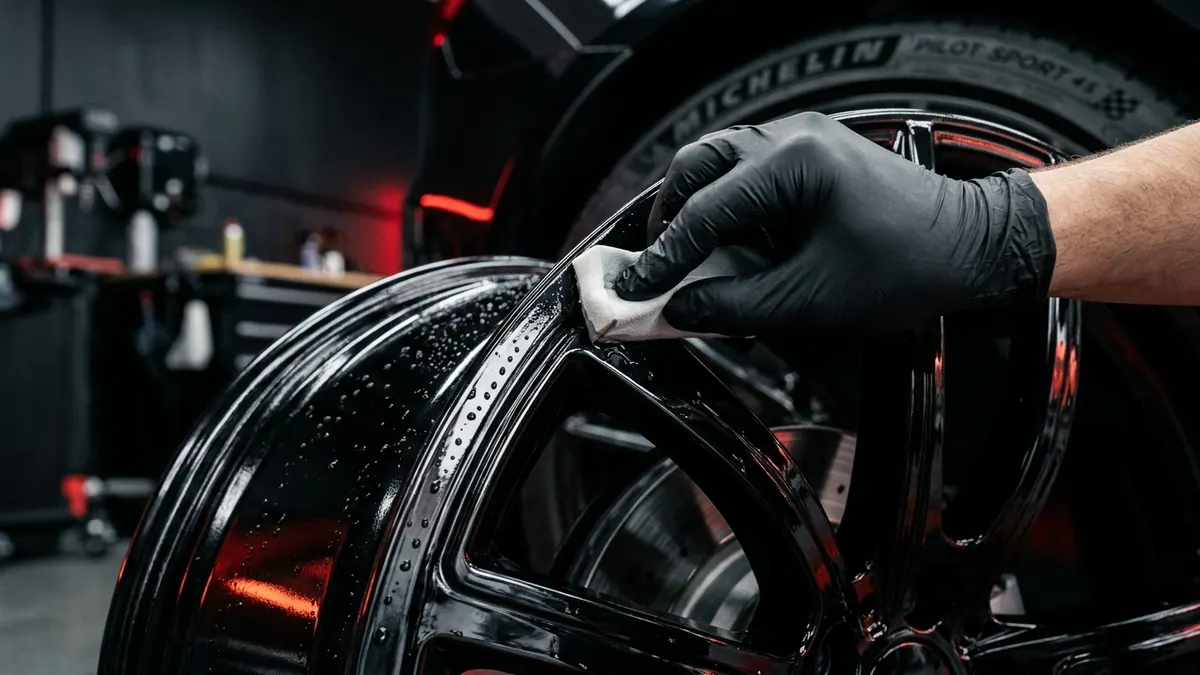
Preparation determines the lifespan of the finish. A caliper may look reasonably clean with the wheel removed, but brake dust and road film settle into every casting mark, corner and bracket. Paint applied over that contamination will struggle to bond.
The wheels should be removed and the braking components inspected first. This is the point to look for uneven pad wear, fluid leaks, seized sliders, damaged hoses and excessive corrosion. Brake work is safety-critical, so a vehicle with any mechanical concern should not be treated as a paint-only job.
- Remove loose rust and failing old paint using wire brushes, abrasive pads or careful sanding to create a stable surface.
- Degrease thoroughly — fingerprints, silicone dressings, oil and brake dust can all spoil adhesion.
- Dry the component carefully and handle it as little as possible after cleaning.
- Mask all brake discs, pads, rubber seals, bleed screws, hoses and surrounding suspension parts before painting.
Choosing the right caliper paint
Ordinary aerosol paint is not designed for the repeated heat cycles around braking components. A dedicated caliper paint or high-temperature automotive coating is the sensible choice, whether it is brush-applied, sprayed or professionally refinished.
Brush-on caliper paint can work well for a careful DIY job. It offers control in tight areas and reduces overspray, although it may leave visible brush marks if applied too heavily. Aerosol products can produce a smoother appearance but demand better masking, clean conditions and disciplined light coats. A workshop finish may use specialist primers, coating systems and controlled curing to produce a more consistent result.
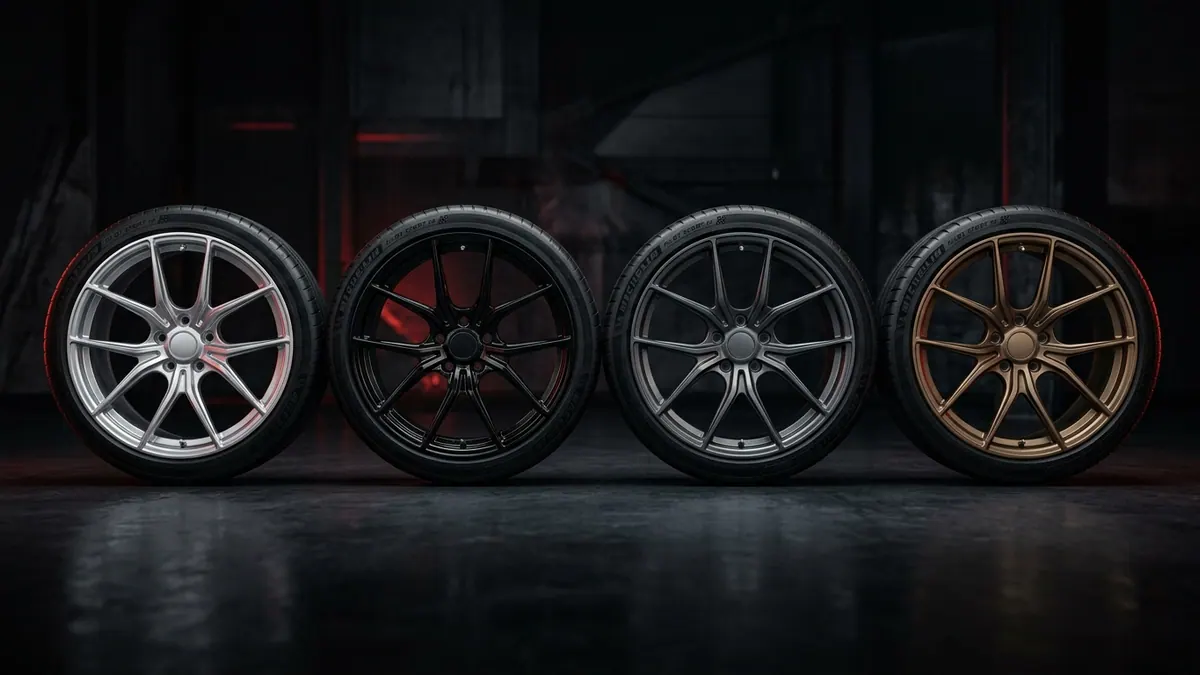
Colour is largely personal, but it should suit the wheels and the car. Gloss black is understated and easy to live with. Red remains a popular performance-inspired choice. Silver and grey can create a clean OEM-style appearance, while yellow, blue or custom colours make more of a statement. On a premium vehicle, a subtle factory-looking shade is often more effective than an overly bright finish.
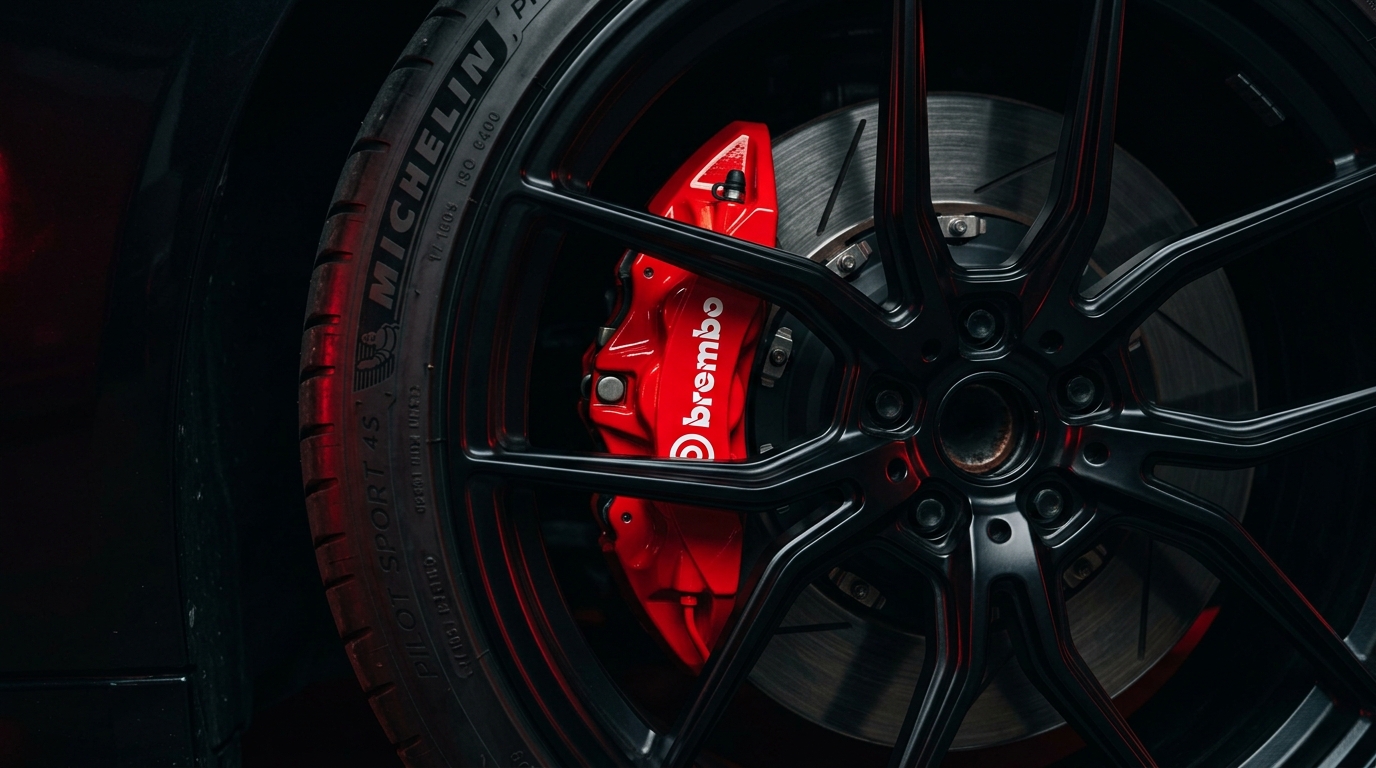
It is also worth being realistic about the caliper itself. Large, smooth performance calipers show paint beautifully. Smaller cast calipers can still look significantly better, but their rougher texture will remain visible beneath the coating. Good preparation makes them tidy and protected, not machined from new.
Applying paint without compromising the brakes
Apply paint in thin, even coats rather than trying to achieve full coverage immediately. Heavy coats are more likely to run, trap solvent and take longer to cure. Several lighter coats usually give a richer colour and a more durable finish.
Allow the stated flash-off time between coats. Temperature and humidity matter here. A cold Glasgow day, damp workshop or poorly ventilated space can slow drying and affect the final appearance. Painting outdoors beside a road is rarely a good idea, as wind-borne grit and moisture can settle into fresh paint.
Pay attention to the visible faces of the caliper but do not force paint into every gap. Coating moving components, slider surfaces, seals, threads or areas designed to make metal-to-metal contact can cause problems later. Cosmetic paint belongs on the external caliper body and appropriate fixed brackets, not on functional braking surfaces.
If decals are part of the plan, they should only be applied to a properly cured surface. A compatible clear coat may help protect them, but not every system requires or accepts one. Mixing products from different paint ranges without checking compatibility can lead to wrinkling, poor gloss or lifting.
Curing time is not optional
A caliper can feel dry to the touch long before the coating has properly hardened. Refit the wheels too soon, and the paint can mark against the wheel barrel or chip during fitting. Drive too soon, and repeated brake heat can damage a coating that has not cured.
Follow the paint manufacturer's instructions for air drying, heat curing and the waiting period before the vehicle returns to use. This can range from several hours to a number of days depending on the product. A professional process can speed up curing under controlled conditions, but it should never be rushed simply to meet a deadline.
When the wheels are refitted, use the correct wheel bolt torque for the vehicle and avoid allowing tools to strike the fresh calipers. The first few drives should be normal, controlled journeys rather than repeated heavy braking. This gives the finish time to settle through its initial heat cycles.
DIY or professional brake caliper painting?
- DIY suits drivers who are comfortable removing wheels, have suitable working space and accept a home finish may differ from a workshop coating.
- Professional painting is the better choice when the vehicle is valued highly, the wheels are being refurbished at the same time, or the brakes need inspection beforehand.
- A professional setup removes the risk of overspray on discs, tyres and suspension components, while providing access to better preparation and finishing equipment.
At Wheel Fusion, brake caliper painting can be coordinated with wheel refurbishment so the overall finish looks considered rather than pieced together. It is a straightforward way to make the wheels, brakes and bodywork feel like they belong on the same car.
Looking after painted calipers
Once cured, painted calipers need little special treatment. Wash them regularly with a pH-neutral wheel cleaner, soft brushes and clean water. Avoid aggressive acidic products, especially if they are left to dwell on a warm caliper. Rinse away road salt in winter, as it is one of the biggest threats to every exposed brake component.
If a chip appears, deal with it early. Small damage is easier to clean, stabilise and touch in before moisture reaches the metal beneath. More widespread peeling often points back to poor preparation, unsuitable paint or a brake issue that has created excessive heat.
A well-finished caliper should look smart without distracting from the car. Start with safe, sound brakes, give preparation the time it deserves, and the colour will still look right long after the first wash.