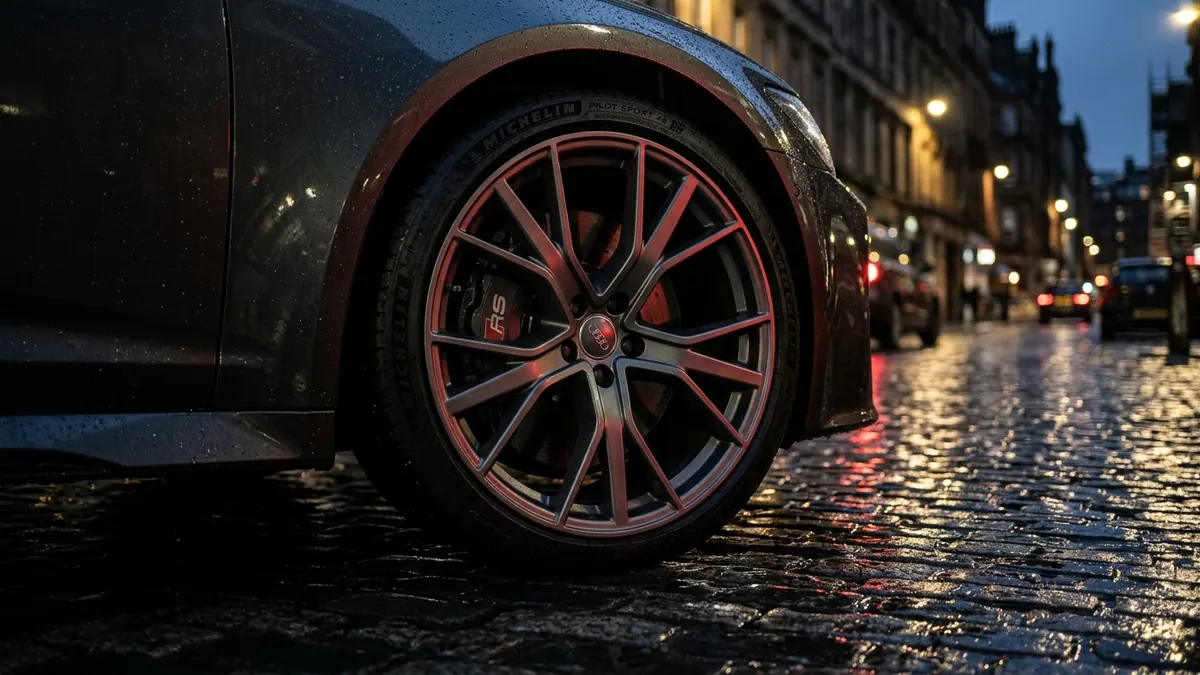
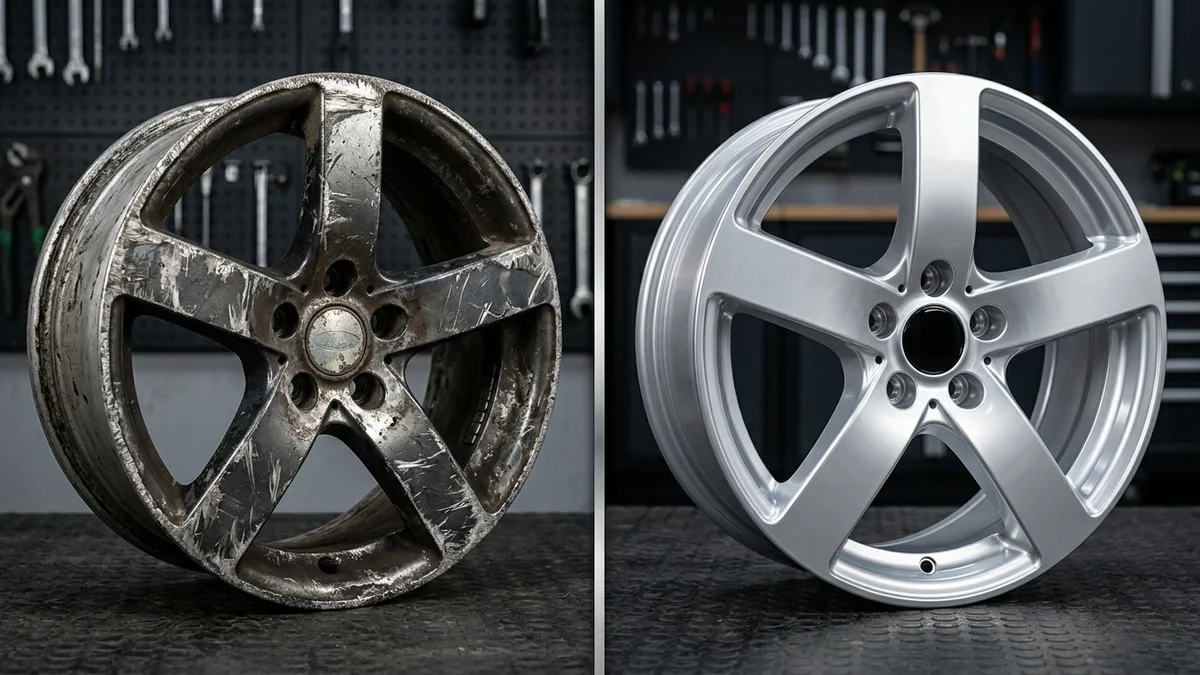
A wheel can look tired long before the rest of the car does. Kerb marks, peeling lacquer, corrosion around the spokes and dull patches all draw attention for the wrong reasons. Before and after alloy refurbishment is not just about making a wheel look cleaner in a photograph — it is about restoring a finish properly, checking the wheel's condition and helping your car look cared for again.
For Glasgow drivers, that matters. Wet roads, grit, potholes and everyday parking take their toll on alloy wheels quickly. The right repair can turn a scuffed, weathered rim into a sharp, even finish that suits the vehicle. But the best result starts with an honest assessment, because not every damaged wheel needs the same treatment.
What before and after alloy refurbishment really shows
The obvious difference is cosmetic. Before refurbishment, alloy wheels may show kerbing on the outer edge, chips in the paint, oxidisation beneath the lacquer, brake dust staining or a finish that has lost its original depth. After a professional refurbishment, the surface should look consistent, smooth and properly protected — not simply covered over.
A quality after result is not meant to look like a quick touch-up. The colour should be even across the wheel, the lacquer should sit cleanly over the surface, and the repaired area should blend with the rest of the rim. On diamond-cut alloys, the machined face should have crisp lines and a clear protective coating to help resist future corrosion.
The less visible change can be just as valuable. A wheel arriving with a vibration, an air-loss issue or impact damage may need more than cosmetic work. A specialist inspection can identify a buckle, crack or damaged bead seat before finishing begins. Painting over a structural issue is not a repair. The wheel must be safe and sound first.
The difference between a touch-up and a proper refurbishment
A small mobile repair or DIY kit can improve the appearance of light kerb damage, especially where the wheel has a simple painted finish and the owner needs a short-term cosmetic improvement. There is a place for that option, but it has limits.
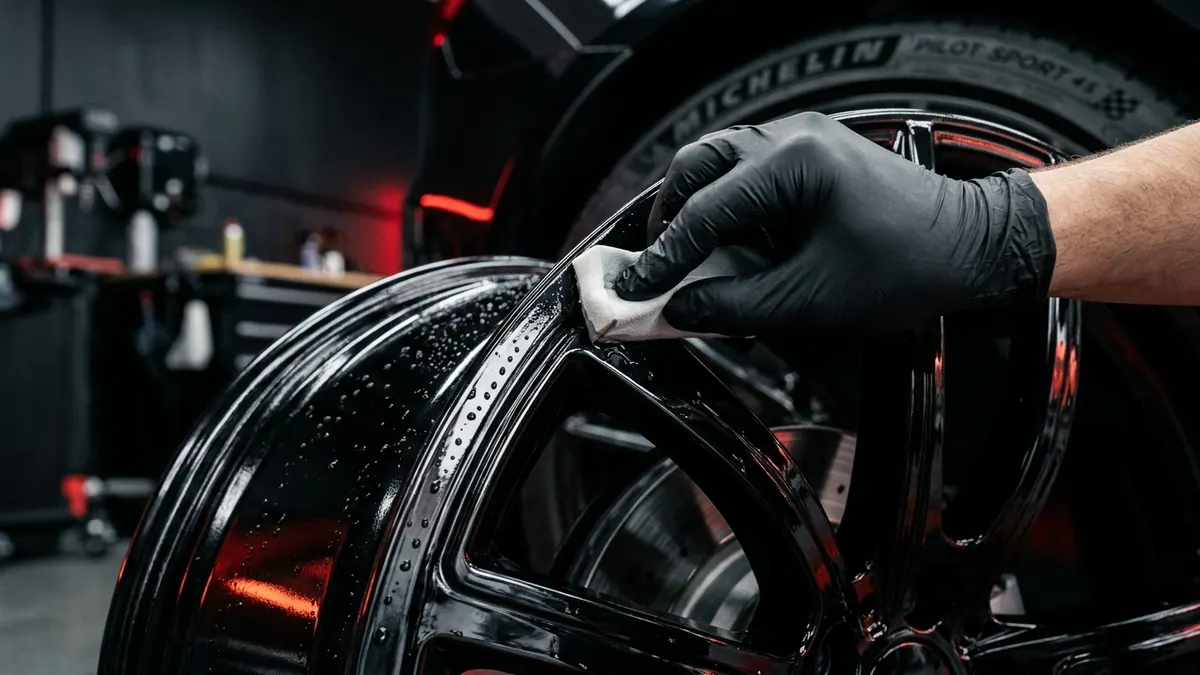
A full refurbishment involves stripping or preparing the existing finish correctly, repairing the damage, treating corrosion where necessary and applying a durable new coating. This gives the technician control over the entire surface rather than trying to disguise one damaged section. It is often the better route where lacquer is lifting, corrosion is spreading, several areas are marked, or the wheel has been repaired badly in the past.
The trade-off is time and cost. A proper process is more involved than a spot repair, particularly for diamond-cut wheels or custom colour work. However, it usually gives a more uniform result and better long-term value than repeatedly patching the same wheel.
What happens before the new finish goes on
The strongest before-and-after results come from preparation. The final colour and shine are only as good as the surface beneath them. At Wheel Fusion, every suitable repair begins with a visual inspection so the recommended work matches the actual condition of the alloy.
Damage assessment comes first
Kerb damage is often straightforward, but deeper gouges can require careful shaping to retain the wheel's profile. Corrosion can sit under the coating and spread further than it first appears. If a wheel has hit a pothole, the technician should also look for signs of buckling, cracking or distortion.
A buckled wheel may cause steering vibration, uneven tyre wear or a poor seal between tyre and rim. A crack can compromise the wheel's integrity and should never be treated as a cosmetic inconvenience. Depending on its location and severity, it may require specialist welding or may not be a sensible candidate for repair at all. Honest advice matters more than promising a finish at any cost.
Surface preparation determines the finish
Once the wheel is approved for repair, old paint, lacquer and contamination need to be removed or prepared correctly. Damage is then repaired and the surface is smoothed before primer, colour and protective coatings are applied. For powder-coated wheels, the process produces a hard-wearing, even finish that suits many everyday cars and premium vehicles alike.
Diamond-cut alloys need a different approach. Their face is precision-machined to create the bright, finely lined appearance seen on many modern wheels. The surface is then lacquered for protection. This can deliver an excellent factory-style result, although repeated diamond cutting is not always possible because each machining process removes a small amount of material. The right choice depends on the wheel's previous repair history and remaining metal thickness.
Choosing the right finish for your car
There is no single best finish for every alloy. The vehicle, wheel design, how it is used and the look you want all play a part.
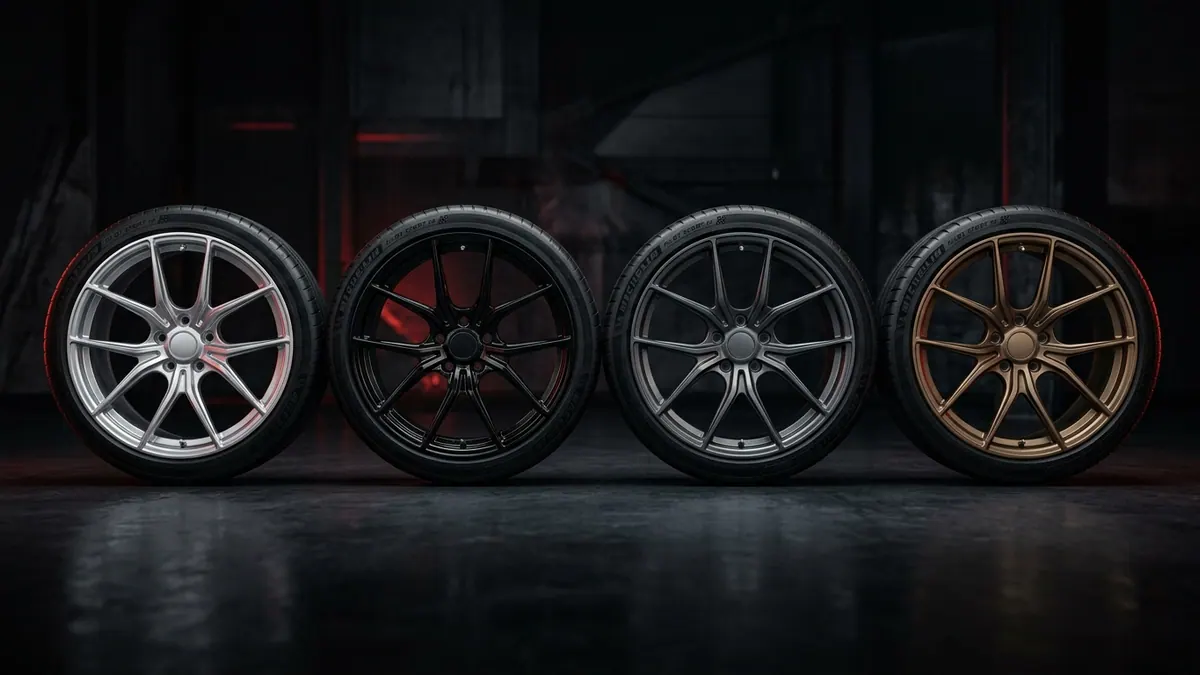
A standard painted or powder-coated finish is a practical option for drivers who want durability and easier future repair. It works well in silver, anthracite, gloss black, satin black and many OEM-style colours. It can also be a sensible alternative where a diamond-cut wheel has suffered recurring lacquer corrosion around the machined face.
Diamond cutting suits owners who want to retain the original two-tone, machined appearance. It can transform a wheel that has lost its sharp factory look, but it needs proper care. Winter road salt and damaged lacquer can accelerate corrosion on exposed machined areas, so regular cleaning and prompt attention to chips are worthwhile.
Custom colour matching gives enthusiasts more freedom. A darker grey, a subtle bronze, a gloss black wheel or painted brake calipers can change the entire stance of a car without making it look overdone. The best custom work still respects the vehicle — clean preparation and an even finish matter more than chasing a colour trend.
When refurbishment is about more than appearance
Freshly refurbished alloys can lift the look of a car immediately, particularly if the bodywork is clean but the wheels have been neglected. They can also support resale value. Buyers often use wheels as a quick indicator of how a vehicle has been maintained, and heavily kerbed or corroded alloys can make an otherwise tidy car feel neglected.
This safety-led approach also avoids wasted money. There is little value in achieving a flawless painted face if the wheel later has to come back off because it is bent or cannot hold air properly.
How to keep the after result looking its best
The finish can last well when it is looked after, but alloys sit in one of the harshest areas of the car. Brake dust, road salt, standing water and aggressive wheel cleaners all work against them.
- Wash the wheels regularly with a pH-neutral cleaner and a soft brush, especially during winter.
- Avoid acid-based cleaners and harsh abrasive products, which can damage lacquer and dull the finish.
- If you catch a fresh kerb mark or stone chip early, having it assessed can prevent moisture getting beneath the coating and causing further corrosion.
- Check tyre pressures and keep an eye on the rims after a hard pothole strike.
A clean-looking wheel is good; a clean-looking wheel that runs true, holds pressure and supports safe driving is better.
A better result starts with the right diagnosis
The most satisfying before-and-after alloy refurbishment results are not created by hiding damage. They come from identifying what the wheel needs, carrying out the repair with precision and choosing a finish that will suit the car and how you use it. If your alloys are letting down an otherwise well-kept vehicle, a proper inspection is the sensible first step — and often the quickest route back to wheels you are proud to see when you walk up to your car.